Why Lighting Makes or Breaks Your Film
Lighting doesn't just illuminate subjects—it sculpts emotion, directs viewer attention, and separates professional work from home videos. A single poorly placed light can flatten a dramatic confession into a lifeless talking head, while strategic illumination transforms a mundane hallway into a noir masterpiece. The difference between a festival-selected short and unwatched YouTube content often comes down to how shadows fall across an actor's face. Independent filmmakers face brutal constraints: rental houses charge hundreds daily for equipment that requires vans to transport and generators to power. Location scouts must prioritize electrical access over creative potential, and unpredictable weather can derail entire shooting schedules when you're locked into traditional lighting rigs. Portable systems obliterate these barriers by delivering controllable, high-quality light from battery-powered units weighing under ten pounds. You gain the freedom to chase golden hour on mountain trails, shoot intimate scenes in actual apartments rather than staged sets, and pivot instantly when conditions change. Poor lighting decisions cost more than aesthetic appeal—they waste actors' time during reshoots, drain post-production budgets on corrective color grading, and ultimately limit distribution opportunities when your work can't compete visually with properly lit productions. Investing in portable solutions isn't about convenience; it's about maintaining creative control while matching industry standards.
Portable Lighting Types Demystified
COB Lights: Powerhouse Performance
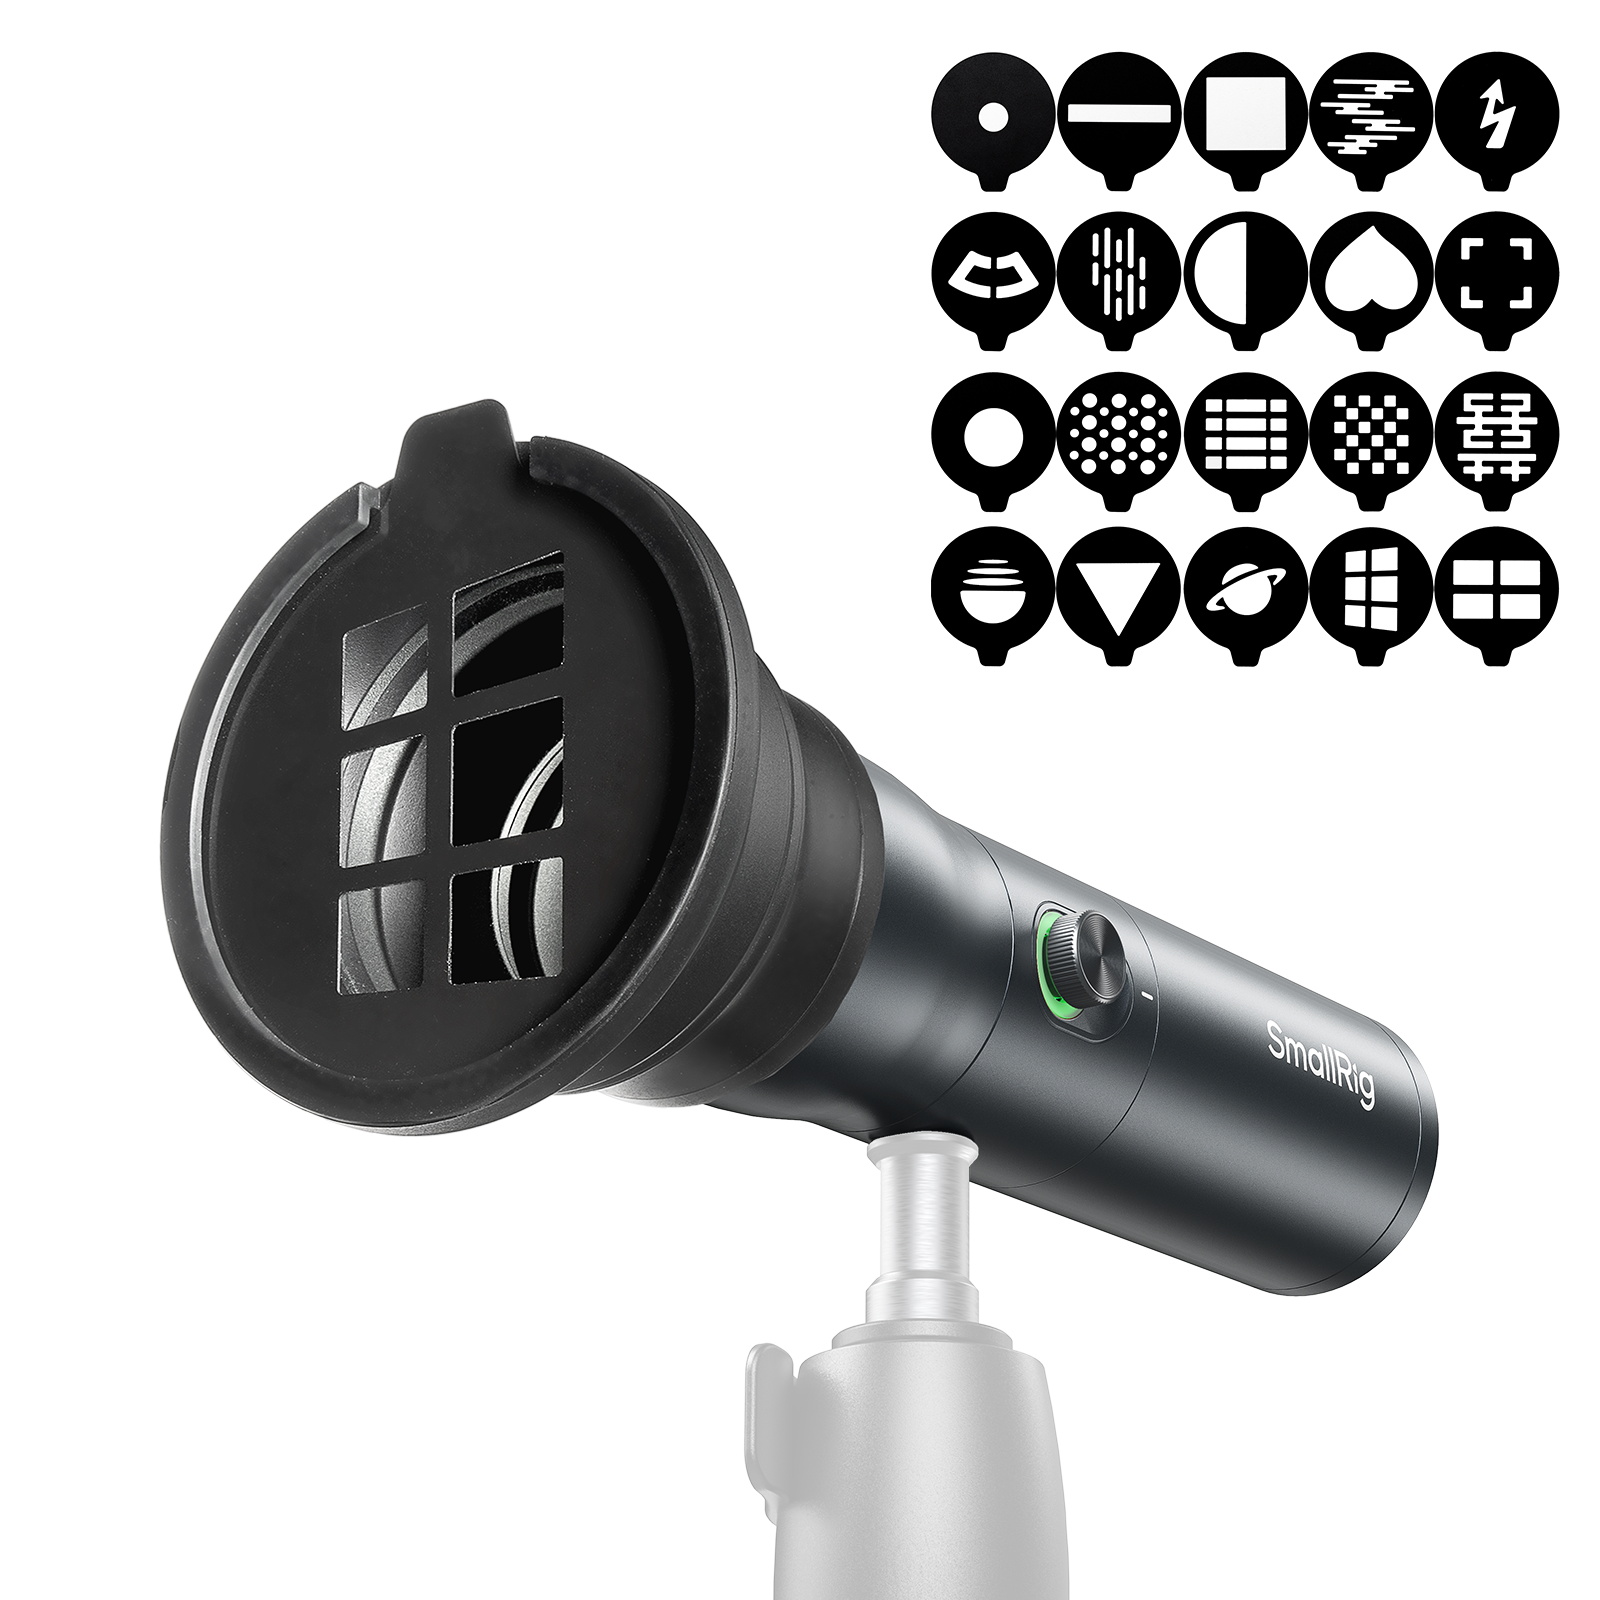
COB (Chip-on-Board) technology clusters multiple LED diodes onto a single surface, creating a unified light source that mimics traditional tungsten fixtures with far greater efficiency. This design delivers intense, focused output—often 5,000 lumens or more from units smaller than a shoebox—making them ideal for overpowering midday sun during outdoor shoots or illuminating large interior spaces without multiple fixtures. Unlike standard LED panels that create multiple shadows from scattered diodes, COB lights produce clean, single-shadow illumination that looks natural on camera. They excel in scenarios demanding serious punch: interview setups where you need to match window light, night exteriors requiring artificial moonlight, or product shots needing crisp highlights. The concentrated beam also means better control through modifiers like Fresnel lenses or softboxes, giving you the shaping capabilities of professional studio lights without the weight or power consumption.
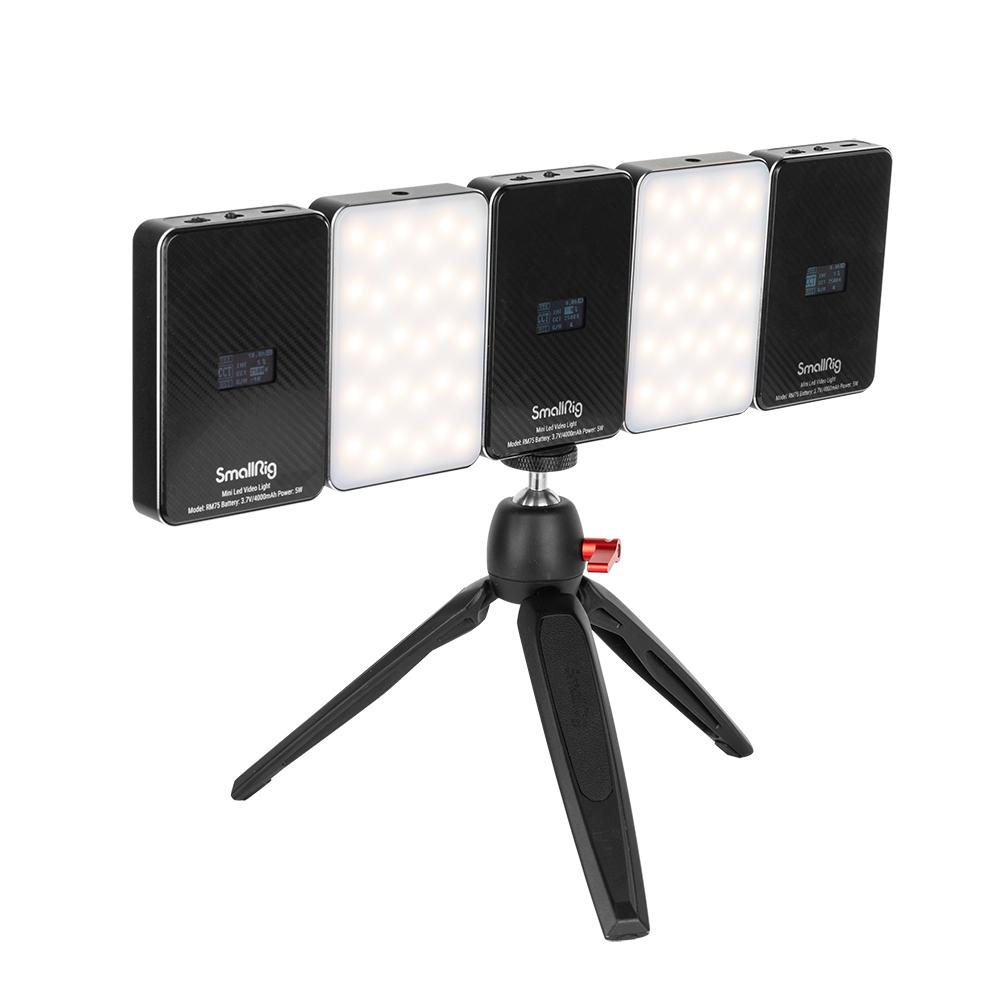
LED Video Lights: Efficiency Masters
Standard LED panels prioritize runtime and versatility over raw power, typically drawing 30-50 watts while operating for hours on compact batteries. Their broad, even spread makes them perfect for documentary work where you're moving constantly, interview fill light that wraps gently around subjects, or practical lighting tucked into frame as set dressing. Modern units boast CRI ratings above 95, ensuring skin tones and colors reproduce accurately without the green spikes that plagued early LEDs. Bi-color models adjust from warm 3200K tungsten to cool 5600K daylight instantly via onboard dials, eliminating gel hassles when matching mixed lighting environments. Their slim profiles slip into backpack pockets and mount on camera hot shoes for run-and-gun scenarios, while dimming controls from 0-100% provide precise exposure adjustments without changing your aperture or ISO settings.
Complete Film Lighting Kits
Bundled kits typically include two or three lights at varying outputs, adjustable stands, diffusion panels, barn doors for beam control, and a padded case—everything needed to execute standard setups immediately. Entry-level packages around $300-500 provide sufficient quality for YouTube content and corporate videos, while $800-1200 professional kits deliver broadcast-grade color accuracy and durability for paid client work. The real value lies in matched color temperatures across fixtures and included modifiers that would cost hundreds separately. A solid starter configuration pairs one high-output COB as your key light with two smaller LED panels for fill and accent work, giving you flexibility to scale lighting ratios without buying incompatible gear piecemeal. Evaluate kits based on total system weight for your transportation method, battery compatibility across units to reduce charger clutter, and whether cases accommodate additional accessories as your kit expands.
Selecting Your Optimal Lighting Setup
Documentary shooters need lightweight, long-running LEDs that mount quickly on cameras or tripods, prioritizing portability over maximum output since you're chasing authentic moments rather than controlled setups. Interview-focused creators benefit most from a two-light combination—a powerful COB key light paired with a softer LED panel for fill—allowing consistent results across multiple subjects without relighting between takes. Narrative filmmakers require versatile kits with multiple units and modifiers to craft distinct looks for each scene, making three-light packages with barn doors and diffusion essential investments. Budget-conscious creators can achieve 80% of professional quality by prioritizing a single high-CRI COB light ($200-300) over cheap multi-light bundles with poor color rendering that force costly correction in post. Focus spending on fixtures with CRI ratings above 95 and TLCI scores over 90, ensuring accurate skin tones and color reproduction that match higher-end productions. Battery life calculations matter more than marketing claims—a 50-watt LED running at 50% brightness for four hours beats a 100-watt unit dying after ninety minutes mid-interview. Compare actual wattage draw against battery capacity in watt-hours, not vague "runtime" estimates, and always budget for backup batteries equal to your longest anticipated shoot day plus 30% safety margin.
Step-by-Step Camera Light Configuration
Basic Three-Point Setup
Position your key light at a 45-degree angle from your subject, roughly five feet away and elevated 30 degrees above eye level—this creates natural-looking shadows that define facial structure without harsh drama. Place the fill light opposite your key at half the intensity (adjust power or double the distance) to soften shadows without eliminating them completely, maintaining depth that prevents the flat "soap opera" look. Your back light sits behind the subject at a 45-degree angle, aimed at shoulders and hair to create separation from the background—critical for depth perception on two-dimensional screens. Essential checklist includes three light stands with sandbag weights, a dimmer or adjustable power on each fixture, at least one diffusion panel or softbox for the key light, and a light meter or camera histogram to verify balanced exposure ratios of approximately 2:1 between key and fill.
On-Location Quick Rigging
C-stands with grip arms adapt to uneven terrain better than standard tripods, while spring clamps secure lights to door frames, shelving, or vehicle frames when floor space is limited. When combining window light with portable LEDs, measure the daylight color temperature with your camera's white balance tool and match your LED settings precisely—mixed temperatures create unfixable color casts. Bounce your COB light off white ceilings or walls to create soft overhead illumination that mimics expensive diffusion setups, effectively quadrupling your light source size. Always tape down cables with bright gaffer tape along walkways, position stands away from high-traffic zones, and keep backup batteries within arm's reach rather than buried in cases—crew members tripping over gear or lights dying mid-take destroy momentum faster than any technical mistake. Mounting accessories from manufacturers like SmallRig can provide additional rigging points and articulation options when working in tight spaces where traditional stands won't fit.
Mastering COB Lights in Any Environment
Outdoor Daylight Integration
Competing with direct sunlight requires COB lights at full power positioned within three feet of your subject, creating fill that lifts shadows without overpowering natural key light. Use a light meter to measure ambient exposure, then match your COB output to register one stop brighter than shadow areas—this maintains contrast while preventing muddy faces. When shooting during golden hour, dial your COB to 3200K and position it opposite the sun to create a warm wraparound effect that enhances the natural glow rather than fighting it. Diffusion becomes critical outdoors where hard COB beams create competing shadow patterns with sunlight. Stretch a 4x4 diffusion frame between your light and subject, or bounce the COB off a white reflector board to soften output while maintaining intensity—this mimics the quality of overcast skies that cinematographers prize. On partly cloudy days, keep your COB on standby at consistent settings so you can instantly compensate when clouds shift, maintaining exposure continuity across takes that would otherwise require extensive color matching in post.
Low-Light Interior Challenges
Small rooms amplify every lighting decision, making a single COB bounced off a white ceiling your most powerful tool for creating soft, enveloping illumination without visible harsh sources. Position the light in a corner aimed upward at 45 degrees, letting the ceiling act as a giant softbox that wraps light naturally around subjects—this technique eliminates the need for multiple fixtures in spaces under 200 square feet. Maintain ambiance by dimming your COB to 30-40% power and raising your camera's ISO to 1600-3200 on modern sensors with clean noise performance, preserving the intimate mood of practicals like lamps and candles while ensuring subjects remain properly exposed. When bounce surfaces aren't available in dark-walled spaces, flag your COB with black cards on three sides to create a narrow beam that spotlights your subject while letting backgrounds fall into controlled darkness—this selective lighting creates depth and draws focus without requiring additional fixtures.
Dynamic Scenario Adaptations
Weather-sealed COB housings with IP54 ratings or higher handle light rain and dust, but always shield electronics with plastic bags and keep backup towels ready for lens surfaces—moisture on the glass diffuses output unpredictably. For moving shots, mount lightweight COB units on monopods with quick-release plates that crew members can reposition faster than tripods, maintaining consistent lighting angles as your camera tracks subjects through spaces. Battery management separates successful shoots from aborted ones: rotate two batteries per light in 45-minute cycles regardless of charge indicators, keeping depleted cells charging in a nearby vehicle or base station. Label batteries with gaffer tape showing charge status and cycle count, retiring units after 300 cycles before they fail mid-scene. When shooting run-and-gun documentary content, preset two identical COB lights to your most-used settings and keep one ready as a hot-swap replacement—if your active light dies or positioning becomes impossible, grabbing the backup maintains continuity without scrambling through menus during critical moments.
Pro Maintenance and Longevity Tips
Clean lens surfaces weekly with microfiber cloths and lens cleaning solution—never use paper towels or shirt fabric that scratches coatings and reduces light transmission over time. Remove dust from cooling vents monthly using compressed air held six inches away, preventing buildup that causes overheating and premature LED failure. Store batteries at 40-60% charge in cool, dry locations between shoots, avoiding full discharge or constant 100% storage that degrades cell chemistry and cuts lifespan in half. Transport lights in padded cases with foam inserts custom-cut to each unit's shape, eliminating internal movement that loosens connections during vehicle transport. Check manufacturer websites quarterly for firmware updates on smart fixtures—these patches often improve color accuracy, add features, and fix bugs that affect performance. Inspect power cables and connectors before every shoot for fraying or bent pins, replacing damaged components immediately rather than risking shorts that destroy expensive electronics mid-production.
Portable lighting systems have demolished the barriers between amateur footage and professional cinematography, putting broadcast-quality illumination into backpacks and freeing creators from the tyranny of electrical outlets and rental budgets. You now understand how COB lights deliver powerhouse output for demanding scenarios, LED panels provide efficient versatility for run-and-gun work, and strategic three-point configurations sculpt dimension regardless of location constraints. The techniques covered—from balancing daylight outdoors to bouncing light in cramped interiors—give you immediate tools to elevate every frame you capture. Independent filmmaking has never offered more opportunity, but visual quality remains the gatekeeper to audience attention and distribution deals. Your camera and lenses mean nothing if lighting doesn't support the story you're telling. Start with one actionable change today: master a single three-point setup in your most common shooting environment, drilling the placement until it becomes instinctive. Experiment with your portable lights during non-critical practice sessions, pushing boundaries and discovering what works for your unique style. The gap between your current work and festival-worthy productions isn't talent or budget—it's mastering the light that already surrounds you and bending it to your creative vision with tools now accessible to every serious creator.